The backbone of any development environment are the users. Which means you need to be able to manage users. The more users you have the harder the system is to manage. A centralized user management system helps greatly.
Nobody likes to manage a bunch of passwords. Its nice to have a single username and password for the entire dev environment. If you have an existing Active Directory you might want to leverage that. However, I don’t really recommend that approach for 2 reasons. First you as a software engineer probably do not have access into the company infrastructure, so you will be at the mercy of your IT dept and unless you want to entire company to login to your dev environment you might want/need them to create a group for you you to filter logins. Second, most of the tools you will probably be using or are currently using are more geared towards true LDAP backends.
Only one problem, traditionally LDAP is hard for everyone to use and manage. LDAP servers typically don’t have an easy way for a user to set or reset their own password. Usually they are just data stores for information about people. This is where FreeIPA comes into play. FreeIPA is a complete user management system that includes a LDAP Server (RedHat’s 389 Directory Server) as well as a fully featured self service portal. FreeIPA goes well beyond a simple directory server in terms of features and can even support One Time Passwords (OTP), in case you have some severe security requirements.
Out of the box, Jenkins comes with LDAP support. No plugins are needed for this. This tutorial will walk you through setting up FreeIPA and connecting Jenkins for user authentication.
Software Versions Used:
Hardware:
MacOS Workstation with VMWare Fusion 7
Step 1. Prepare
Its not an absolute necessity, but I am going to setup some DNS entries on my local LAN. I will say that the FreeIPA server needs to resolve DNS correctly. and won’t be happy with pure IP addresses. So at a minimum I would edit it’s hosts file to include the IPs for itself and the jenkins server.
192.168.100.100 ipa.internal.beer30.org
192.168.100.101 jenkins.internal.beer30.org
You of course need a place to run this. I’m going to do it in a virtualized environment on my Mac. I have the Fedora 22 Server ISO image downloaded and ready to go. But just about any other hardware/virtual environment will work.
Step 2. Create FreeIPA Server
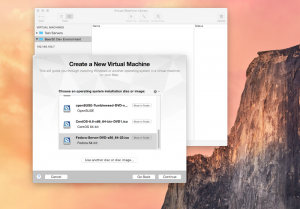
I’m using a virtual environment so I will select my install ISO (Fedora 22 Server)
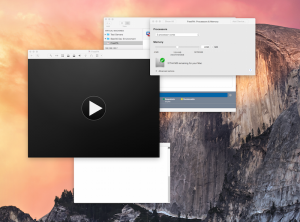
I like to give my VMs at least 2 CPUs and 4GB of RAM, 8GB Disk to start as it makes the installation process faster. I might adjust this after the installation. I’m also going to setup my network so that it is in bridged mode so that it gets the real internal LAN address.
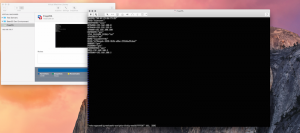
After that is all setup I can run the machine and it will do an “easy” install. Once the OS is installed I need to fix the network settings. The network will be setup for DHCP. I need my static IP and my Hostname set. So I need to edit a few files. Login and edit the hostname.
# vi /etc/hostname
Then edit the config file for the network interface
# vi /etc/sysconfig/network-scripts/ifcfg-<some id> (or use the admin tool gui)
Now reboot
# reboot
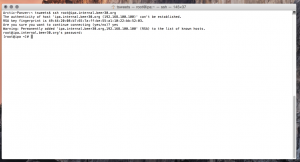
Once the machine is back up, from a terminal window on my host machine, I should be able to ssh into that VM.
Once logged in you can install FreeIPA from the repo.
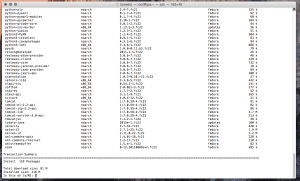
# dnf install freeipa-server
As you can see there will be alot of packages to install/update. Type Y and let it go.
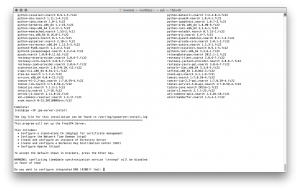
Once that is installed. you need to configure the application. This is easily done with the included config script “ipa-server-install”.
# ipa-server-install
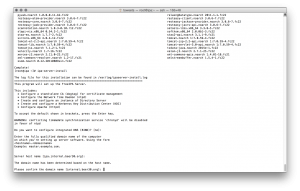
First thing it will ask is if you want to install BIND (a DNS server). I chose no as I can manage my own internal DNS, but this might be useful in a corporate environment and you cannot easily add entries in the company’s DNS server.
It will ask for host/realm names (but it chooses reasonable defaults)
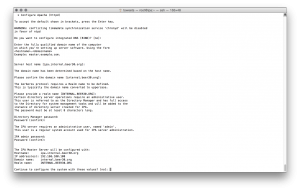
It will then ask for passwords for the admin and directory manager accounts and finally will show you the results for confirmation. Its also a good idea to cut and paste the configuration into a notebook for future reference.
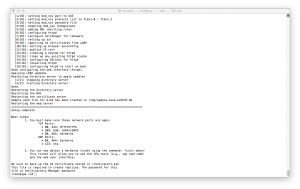
Once you accept the values it will go ahead and configure the system, This will take a little bit of time. At the end of the process it will give you a nice little summary of firewall ports that need to be opened. Two thumbs up to the script writer for that.
I’m just going to turn off the firewall since I’m working in a test env.
# systemctl stop firewalld
# systemctl disable firewalld
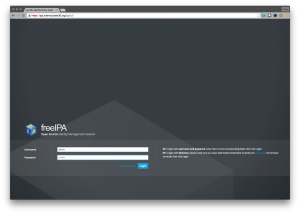
At this point you should be able to open a web page to the FreeIPA server.
Goto to the address you have setup and it will redirect you to the correct URL.
Login with the admin user and the password you setup.
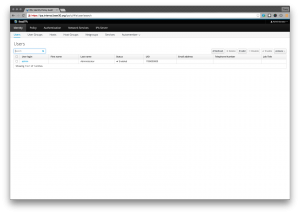
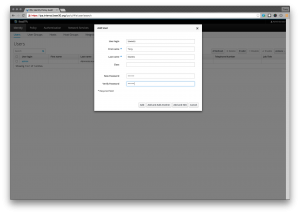
Now I’m going to add a user to the directory
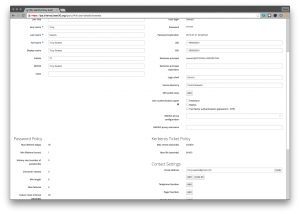
I also need to edit that user so I can put in an email address
That’s it – I’m done. If I wanted to test that LDAP login works. From a different unix box with ldap tools install I could do something like.
# ldapwhoami -vvv -h ipa.internal.beer30.org -p 389 -D "uid=tsweets,cn=users,cn=accounts,dc=beer30,dc=org" -x -w SECRET_PASSWORD
If the username/password works you will see a success message.
Step 3. Install Jenkins
Now repeat most of everything you just did to get a base server you can ssh into.
- Create VM
- Login and set hostname (jenkins) and static IP address.
- Reboot and login from remote/host machine.
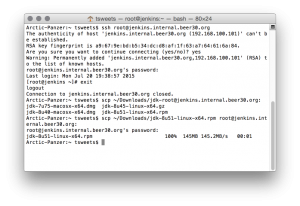
Jenkins is a Java Application and its installation will install OpenJDK. This is ok — But as a Java developer I prefer to use the real Oracle JDK. I have it downloaded and I will scp it to my Jenkins VM.
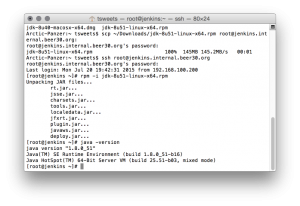
Now I can login to the jenkins vm and install the JDK.
# rpm -i jdk-8u51-linux-x64.rpm
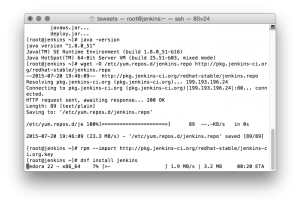
Now lets install the LTS (Long Term Support) version of Jenkins. If you goto jenkins.ci.org they will give you some simple instructions to do an install from their repo.
# wget -O /etc/yum.repos.d/jenkins.repo http://pkg.jenkins-ci.org/redhat-stable/jenkins.repo
# rpm --import http://pkg.jenkins-ci.org/redhat-stable/jenkins-ci.org.key
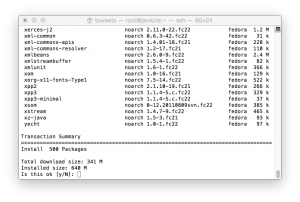
# dnf install jenkins
It will install a bunch of packages. I don’t really think even half of these are needed. And you might have notice in all things scrolling by that it will install OpenJDK. This is bummer to me. So I’ll have to fix that once its done.
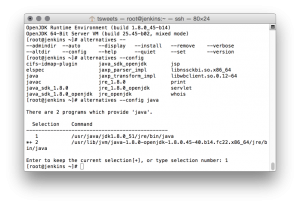
Once that is complete you will have 2 JDK’s installed. OpenJDK will be the default, however that is an easy fix with.
# alternatives --config java
and select the Oracle JDK (the one that doesn’t have openjdk in the path)
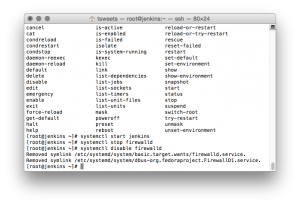
Now I can start up Jenkins. I’m also going to disable the firewall.
# systemctl start jenkins
# systemctl stop firewalld
# systemctl disable firewalld
Use a web browser and goto the jenkins server on port 8080.
Notice that you did not login and there are links to manage jenkins and create new jobs. This means there’s no security setup.
Goto the “Manage Jenkins” link.
Click on “Configure Global Security”
On this page select “enable security” then select LDAP but make sure you leave “Anyone can do anything” under authorization until this all works.
enter in your host name for the free ipa server and under “User Search Base” type in “cn=users,cn=accounts”
Hit and Apply and Save
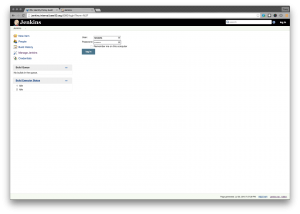
Go back to the Jenkins homepage and you should see a log in option now. Try logging in with the user you created on FreeIPA.
If it works login will be replaced with logout and your full name should be next it that link.
No go back to the Security settings and set the authorization to “Logged in users can do anything”.
Logout and now the page should have fewer options.
Notice that the home page says “Log in to create new jobs” now and also the manage jenkins link is removed.
Now login and will see manage jenkins link and will be able to create jobs.
thats’ it. Jenkins is now using LDAP to authenticate users. If you need to get fancy with permissions you can with the “Matrix Based” security options and have only certain users or groups do certain things. For example you can have a group that can view jobs but not run them.
Oh and to show that we are indeed on Oracle Java 8.
goto the System Properties page under Manage jenkins, you’ll have to login first and look for the java.vendor

![Dashboard [Jenkins] 2015-07-20 20-55-16](http://www.beer30.org/wp-content/uploads/2015/07/Dashboard-Jenkins-2015-07-20-20-55-16-300x212.png)
![Configure Global Security [Jenkins] 2015-07-20 20-56-51](http://www.beer30.org/wp-content/uploads/2015/07/Configure-Global-Security-Jenkins-2015-07-20-20-56-51-300x214.png)
![Configure Global Security [Jenkins] 2015-07-20 20-58-31](http://www.beer30.org/wp-content/uploads/2015/07/Configure-Global-Security-Jenkins-2015-07-20-20-58-31-300x214.png)
![Dashboard [Jenkins] 2015-07-20 20-58-55](http://www.beer30.org/wp-content/uploads/2015/07/Dashboard-Jenkins-2015-07-20-20-58-55-300x214.png)
![Dashboard [Jenkins] 2015-07-20 20-58-07](http://www.beer30.org/wp-content/uploads/2015/07/Dashboard-Jenkins-2015-07-20-20-58-07-300x214.png)
![System Information [Jenkins] 2015-07-20 21-06-49](http://www.beer30.org/wp-content/uploads/2015/07/System-Information-Jenkins-2015-07-20-21-06-49-300x214.png)